How to refresh a felt fedora at home
A felt fedora can regain much of its original character with a careful cleaning routine and a little patience. Dust, lint, light odors, and small handling marks are common, especially when a hat is worn regularly. Most surface problems do not require professional restoration or harsh products.
The safest approach is gradual. Begin with dry cleaning, then use controlled steam only when the material needs help recovering its shape. Wool felt and fur felt respond well to gentle handling, while excess moisture, direct heat, and aggressive rubbing can permanently flatten the nap or distort the crown.
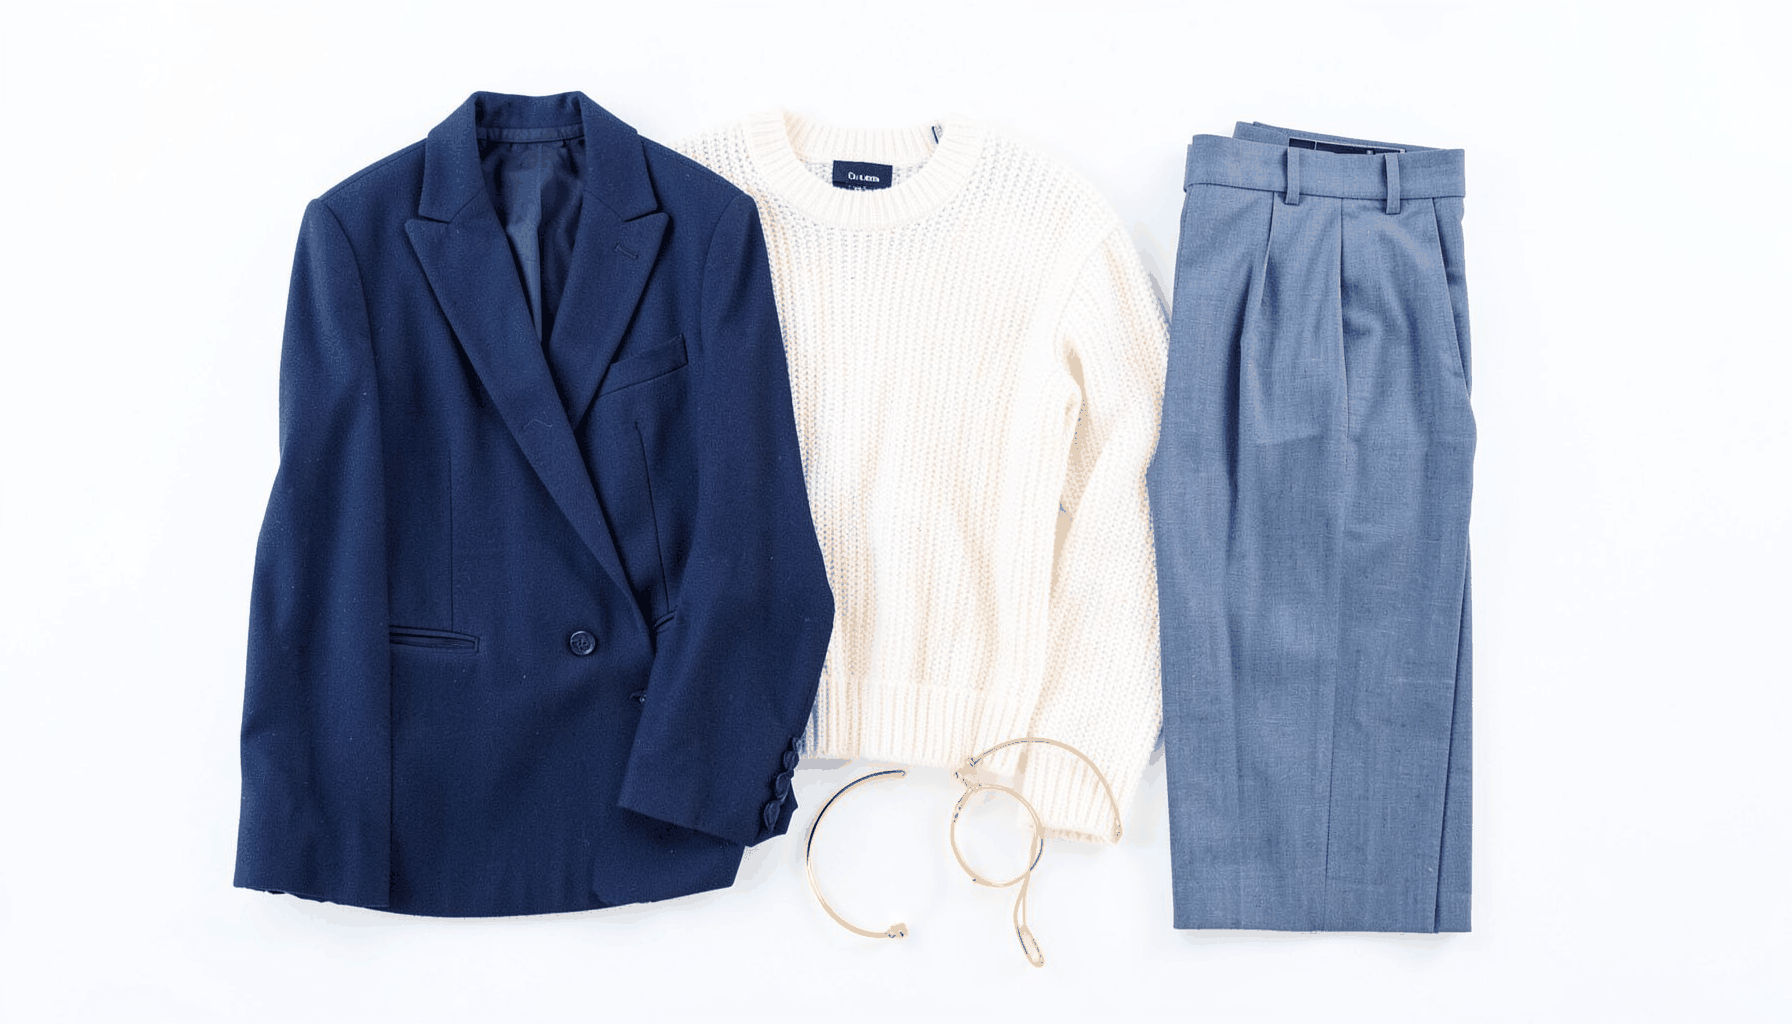
A refreshed hat should look cleaner without appearing overworked. The goal is to preserve the natural texture, firm brim, trim, and proportions that make a fedora useful across seasons. A well-maintained felt hat also fits more comfortably and complements a practical wardrobe built around durable pieces, such as the heritage wardrobe selection.
Identify the felt and inspect the hat
Before cleaning, examine the label, texture, and construction. Wool felt is usually slightly more uniform and affordable, while fur felt often has a finer surface and a more resilient finish. Some hats contain blends or treated fibers, so care instructions from the maker should take priority over any general method.
Look closely at the crown, brim, hatband, bow, edge binding, and sweatband. Check for loose stitching, cracked leather, lifting trim, water rings, moth damage, or areas where the felt has become thin. If the brim is already misshapen or the crown is deeply crushed, avoid trying to correct everything at once. Restoration work is safer when the hat is structurally sound.
A light color change is not always dirt. Natural variation, fading, and pressure marks can become visible after years of wear. Photographing the hat before treatment can help you distinguish improvement from accidental alteration, particularly when the original shape is subtle.
Gather gentle tools before starting
The basic kit is simple: a soft hat brush, a clean lint-free cloth, a soft toothbrush for trim, a bowl or kettle for producing steam, and a clean rounded support. A wooden hat block is ideal, but an appropriately sized upside-down bowl or rolled towel can support the crown during reshaping. Choose a support that does not press sharply into the felt.
A clothes steamer can work if it produces a gentle, steady flow, though a kettle may provide more control when held at a safe distance. Keep a small absorbent towel nearby for accidental droplets. A low-suction vacuum with a brush attachment can remove loose debris, but direct suction against the felt may pull fibers or weaken an already delicate surface.
Avoid common household shortcuts. Do not use a washing machine, hair dryer, iron, stain-removing wipes, perfume, or solvent-based cleaner. Hair spray and scented products can leave a sticky film, while household detergents may change the color or stiffness of the felt. Water-resistant sprays should be used only when recommended for that specific material.
Remove dust and surface marks
Start with the hat completely dry. Hold it by the brim or place it on a clean support, then brush the crown and brim with a soft hat brush. Move in one consistent direction, following the nap of the felt. Many traditional hat brushes are designed for a counterclockwise motion when viewed from above, but the important point is to avoid fast back-and-forth scrubbing.
Brush the crown first, working from the top toward the sides. Follow with the underside of the brim, where dust and fibers often collect. Pay attention to the crease, pinch, and area around the hatband. For a darker hat, use a dark brush; for a light hat, use a clean light-colored brush so loose pigment from another item cannot transfer.
Small bits of lint can be lifted with a dry microfiber cloth or a soft clothing brush. Press lightly rather than dragging across the surface. A clean rubber bulb blower can remove grit from creases without touching the felt. If the hat has decorative feathers, cords, or a delicate ribbon, shield them while brushing and handle them separately.
Fresh surface marks may respond to a clean white eraser used with very light pressure, but test it under the brim first. Do not erase oily marks, deep discoloration, or wet stains. Rubbing can create a shiny patch by compressing the fibers, making the repair more noticeable than the original mark.
Use steam to restore shape safely
Steam is useful for relaxing felt fibers and easing minor dents in the crown or brim. It should soften the material, not soak it. Hold the hat several inches above a gentle stream for a few seconds, moving it continuously. Never place the felt directly over a boiling kettle, and keep your fingers away from the steam.
Work on one small area at a time. Once the felt feels pliable, use clean hands to massage the crown back toward its original form. Support the inside with a rounded object rather than pushing hard from the outside. For a fedora with a center dent and front pinch, restore the main ridge first, then refine the side walls and front crease.
A distorted brim can be eased over steam and placed flat on a clean surface, or supported over a curved form if it has a rolled edge. Avoid forcing a sharp line into a brim that was originally soft and gently curved. The hat’s existing proportions are a better guide than a generic fedora shape.
Let the hat cool and dry naturally on its support. Do not place it near a radiator, in direct sun, or under a heated air vent. Rapid drying can shrink the felt, stiffen the sweatband, and set an unwanted crease. Repeat a short steaming session later if needed instead of increasing the heat or duration.
| Condition |
Suitable home treatment |
Avoid |
| Loose dust or lint |
Soft hat brush and dry cloth |
Hard brushing or adhesive tape |
| Minor crown dent |
Short, controlled steam and gentle reshaping |
Pressing with an iron |
| Slightly curled brim |
Steam, then support in the intended curve |
Bending the brim while dry |
| Light odor |
Airing in a shaded, ventilated place |
Spraying perfume inside |
| Fresh water spot |
Blot carefully and allow natural drying |
Rubbing the wet area |
| Grease or deep stain |
Professional hat cleaner or restorer |
Household detergent |
| Loose trim |
Leave in place and protect during cleaning |
Pulling or re-gluing immediately |
Clean the sweatband and manage odors
The sweatband collects skin oils, moisture, and hair products, so it may need attention even when the outside looks clean. Turn it outward only if the construction allows it without strain. Wipe leather or fabric gently with a barely damp cloth, then remove any remaining moisture with a dry cloth.
Do not saturate the sweatband or allow water to run into the felt. Leather can become stiff, stained, or cracked when soaked, and some fabric bands may bleed color. If the band has heavy oil buildup, an unfamiliar finish, or visible mold, professional cleaning is safer than experimenting at home.
For ordinary odors, place the hat in a cool, shaded room with good airflow for several hours. Keep it away from kitchens, smoke, and strong fragrances. A small open container of baking soda placed nearby can absorb ambient odor, but avoid sprinkling powder directly onto the felt because residue can settle into the fibers.
A cedar block or unscented charcoal pouch stored near, rather than inside, the hat can help keep the storage area fresh. The hat should be completely dry before it goes into a box or closet. Odor that returns quickly may indicate persistent sweat, damp storage, or mildew and deserves more careful treatment.
Deal with stains and water marks
Stains require restraint because felt can change texture when rubbed. Blot a fresh liquid mark with a clean absorbent cloth, using gentle pressure from the outside toward the center. Do not scrub, spread the stain, or add water automatically. Let the area dry fully before judging its appearance.
A dry mark can sometimes be lifted with brushing after the felt has rested. If a water ring remains, a very brief exposure to ambient steam may help the fibers blend, but this is not guaranteed. Dark hats can show tide marks, and pale hats may reveal every change in moisture, so testing beneath the brim is essential.
Oil, makeup, ink, road salt, and unknown stains are poor candidates for home chemistry. A solvent that works on one type of felt may strip dye, dissolve a finish, or leave a pale halo. Take the hat to a cleaner who understands millinery or felt hats when the stain is large, old, or close to a contrasting hatband.
Mold requires extra caution. Do not brush visible mold indoors, since spores can spread through the room. Isolate the hat in a ventilated area and seek advice from a professional conservator or specialist cleaner. A musty smell without visible growth can still signal dampness, so inspect the storage environment before returning the hat to it.
Restore the details without overworking them
Once the felt is clean and dry, inspect the hatband and bow. Use a soft toothbrush to remove dust from textured ribbon, brushing in the direction of the weave. A feather can be gently dusted with a clean, dry brush, but do not steam it with the felt unless you know the material can tolerate moisture.
The brim edge deserves attention because fraying or loose binding can change the hat’s appearance. Snip only a clearly loose thread with fine scissors, leaving the surrounding stitching untouched. Do not trim fuzzy felt from the edge, as removing too much can create an uneven line.
After reshaping, place the fedora on a stand or upside-down bowl rather than resting it crown-down for long periods. Storing it on its brim can flatten or distort the edge, while placing it on the crown may gradually weaken the crease. Keep it in a hat box with enough room that the sides and trim are not compressed.
Rotate the hat during regular wear so the same area does not receive all the sun, rain, and pressure. If the hat becomes damp, remove accessories that may transfer dye and allow the piece to dry naturally. A simple maintenance routine prevents small issues from becoming restoration projects.
Build a simple care routine
- Brush the felt after several wears, especially around the crown crease and hatband.
- Air the fedora in a shaded place after exposure to sweat, rain, smoke, or crowded rooms.
- Store it upright on a stand or with soft support inside a well-ventilated hat box.
- Treat fresh spills by blotting, never by scrubbing or flooding the material.
- Arrange professional cleaning for deep stains, mold, major reshaping, or damaged trim.
A seasonal inspection is usually enough for a regularly worn fedora. Check the sweatband, stitching, brim edge, and crown before storing it for a long period. If the felt remains firm, clean, and evenly shaped, avoid unnecessary treatment; frequent steaming or brushing can be as harmful as neglect.
When a hat has sentimental value or a delicate finish, professional care is a practical investment. Specialists can identify the felt, reproduce the original block shape, replace a sweatband, and address stains with equipment that is safer than improvised household methods. Home maintenance works best as prevention and light refreshment, not as a substitute for restoration.
Keep the fedora ready to wear
Refreshing a felt fedora at home is mainly a matter of removing dry debris, managing moisture, and restoring shape with controlled warmth. The gentlest effective method should always be the first choice. A clean brush, natural drying, and suitable storage will preserve the hat far longer than aggressive cleaning products.
Take time to compare the hat with its original character rather than chasing a perfectly uniform finish. A little variation can reflect the material’s age and use, while a softened nap or carefully restored crease often makes the piece feel more authentic. Finish by letting the fedora rest overnight, then give it one final light brush before wearing it again.